Blogger’s Quilt Festival: Metro Rings

Junior year of college was one of those years where a lot came together for me. I finally had my major figured out, I had some great friends on campus, and I was the RA in a building inhabited by the people who would go on to become more great friends. My room was long and skinny; technically it was a double, but my fall semester roommate had gone to study abroad in Italy. I turned the extra bed into a couch. My next door neighbor B and I would sit on the couch for hours talking about life, boys, relationships, career… but mostly boys. I remember her telling me that when she got married, her father-daughter dance would be to Summer in the City, because as a toddler, she used to dance with her dad to that song. Although we both wanted to get married, it seemed so far away at that point.

Metro Rings complete

The next year, we lived in the same six-person apartment on campus (Emily was also there). When things got stressful, somebody would often turn on Brick House and we’d dance around the apartment. I put both Summer in the City and Brick House on a mixtape I made for everyone at the end of the year; hearing them remind me of the good times we had living together.

Metro Rings

Life went on, we graduated and stayed friends. I moved up to NH for grad school then to Oklahoma and then back to MA for work and B stayed in the Boston area. We exchanged volumes of emails about relationships, weird dates we’d been on, cute guys, and breakups. We danced to Brick House at a couple weddings (including mine; it’s one of my favorite memories). I was really, really happy for her when she started seeing G a couple of years ago. G makes B happy. He brings out her silliness and makes her laugh. They’re complimentary in personality and in living habits. They share a similar outlook on delicious food (but not cheese; B is OK with that).

Metro Rings quilting

They got married last weekend and it was so joyful. I’m so happy that B and G have found each other. I definitely got misty when B and her dad took to the floor to Summer in the City and again while dancing with all my favorite people to Brick House. It felt like a culmination of all those emails, all those times dancing around the apartment, all those years looking for the right person.

Metro Rings
Taken by my friend B

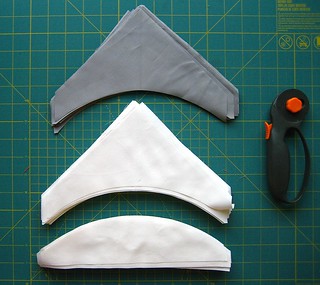
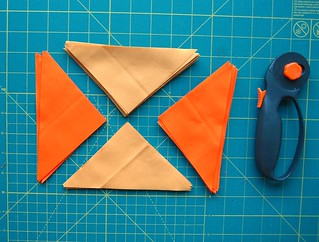
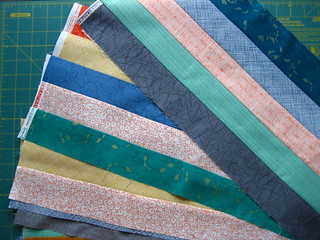
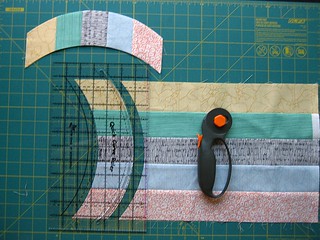
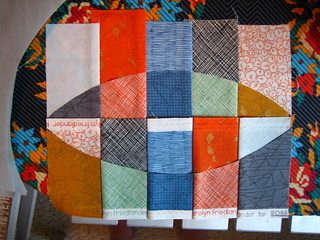
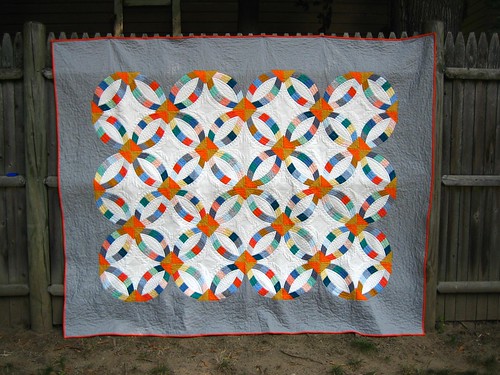
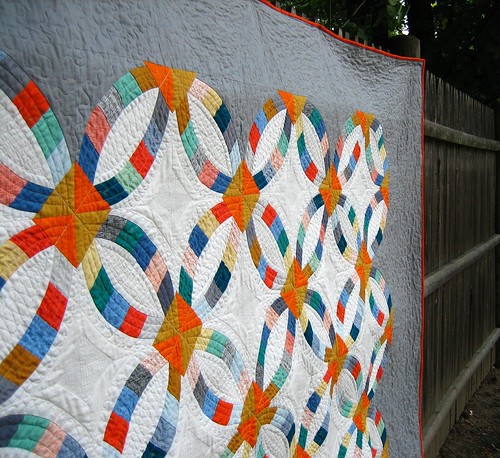
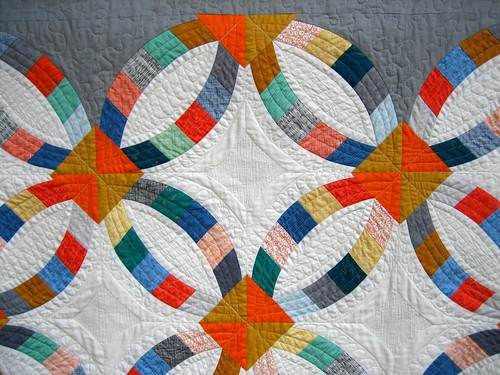
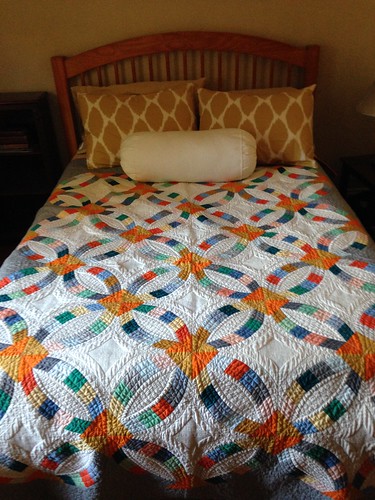
I know you’ve seen a lot of these pictures before but it meant a lot to be able to make something for B and G and their new home. This is one of those projects that had some emotional depth for me, and I’m so proud of the finished quilt. That’s why I’m entering it into this year’s Bloggers Festival of Quilts in the Home Machine category. The festival began on 10/24 at Amy’s Creative Side and voting begins on the 11th of November. Be sure to check out all the categories; there are so many great quilts this year!

AmysCreativeSide.com

Metro Quilting

I’ve been chugging along with quilting my Botanics Metro Rings this week. After thinking and doodling, I settled on the following pattern and dove right in.

Metro Rings quilting

At first, I was going to switch between the walking foot and the FMQ foot and quilt each block separately. When I realized that this method would make so, so many loose threads I’d have to tie and bury at the end, I decided to switch to stitching in the ditch along the ring sections and then FMQ in the negative space once that is complete. This seems to be working well; each row is quicker than the last as I get the hang of using my walking foot.

Keep an eye out later this month for more Quick Curve Ruler inspiration – I’m going to be participating in a QCR blog hop hosted by Laura at Quokka Quilts!

Finishing this is going to be my ALOYF August Goal – I think I can make it! Also, I’m linking up with WIP Wednesday at Freshly Pieced.

Metro Rings Mockup

Here’s a little carpet design floor mockup of what the Metro Rings quilt I’m working on will look like. None of the pieces are completely sewn and ironed and the grey will only be on the very outside quilt blocks, but I think it is going to be really nice when finished!

Double Wedding Ring mockup

My grey blocks are a little bit wavy, even after a hearty pressing. When I saw on Instagram that Shanna (@fiberofallsorts) is also making a Metro Rings, I asked if her blocks were coming out wavy as well.  She provided some advice, and Jessica (@mugirl133) and Peggy (<a href="http://instagram.com/colourdujour” target=”_blank”>@colourdujour) weighed in as well.  It seems that I’ve been pulling the fabric too roughly, which warps the seams a bit.  My background fabric (Pat Bravo Pure Elements) has a lovely hand and drape, but it is a bit lighter weight than the ring segment fabric (Botanics).  I’ve been trying to sew more slowly and ease the curves into position instead of ladyhandling the fabric and the blocks are seeming to lie flatter.  Luckily I still had the majority of blocks to sew.  Thanks ladies for your advice!

Linking up with WIP Wednesday at Freshly Pieced!

Cutting for Metro Rings

After troubleshooting the Metro Rings pattern, I got right down to cutting the fabric needed for the quilt. I’m using Pure Elements solids in Linen White and Ash for the background, Honey and Burnt Orange for the triangles, and a Botanics jelly roll for the ring segments.

Cutting curved triangles

Then I cut more fabric.

More triangles

Then there was a brief interlude of sewing and ironing.

A bit of sewing

And then back to cutting.

Cutting curves

I still have four curve sections to cut and then I’ll get down to sewing. I’m really liking how this is coming together! And all this trimming is leading to some interesting possibilities for the leftover bits.

Interesting Possibilities

I may stitch them together as well and see what I can make!

Linking up with WIP Wednesday at Freshly Pieced.

Metro Practice

I knew, after reading NaNa’s helpful post and emailing with Jessica that I’d want to make a couple of practice Metro Rings blocks before diving in.

So I cut out the pieces, skimmed through the pattern, and dived in.

Metro Rings practice

The block on the right was my first block. Not too bad, I thought. I used Nana’s tips for ensuring that the center almond shape’s points don’t get cut off, and everything was going great until I sewed on the side triangles. And then the block was far too big – like, an inch of extra all around. And the trim line came far too close to the rings (look at the bottom right corner). I wish I took a picture before trimming.

And then I skimmed through the pattern again before making the second block, but I seemed to be doing everything correctly.

The second block, the one on the left, came out better, but it was still really big before trimming and had worryingly little space on the background fabric between the edge and the ring. But I thought I was OK and that was how the block should look.

So before I dived in with cutting my real fabric, I just looked at the pattern one more time.

Lo and behold, there was a little line in the cutting directions: “Align previous curved cut under the dashed curved reference
line on ruler.” Yeah, I was totally aligning the curved cut to the SOLID reference line on the ruler. Which was making my curved rings too big, which was making my blocks too big.

Moral of the story? Read the instructions carefully and follow them. Of course.